? Ableton Live Academy: https://bit.ly/AcademyPML
? Project File used: “Clouds” https://bit.ly/CloudsProjectPML
? Get Free Ableton Chord Generator Rack: http://bit.ly/abt_freedlds
Check out the “Everything” Bundle: https://bit.ly/EverythingPML
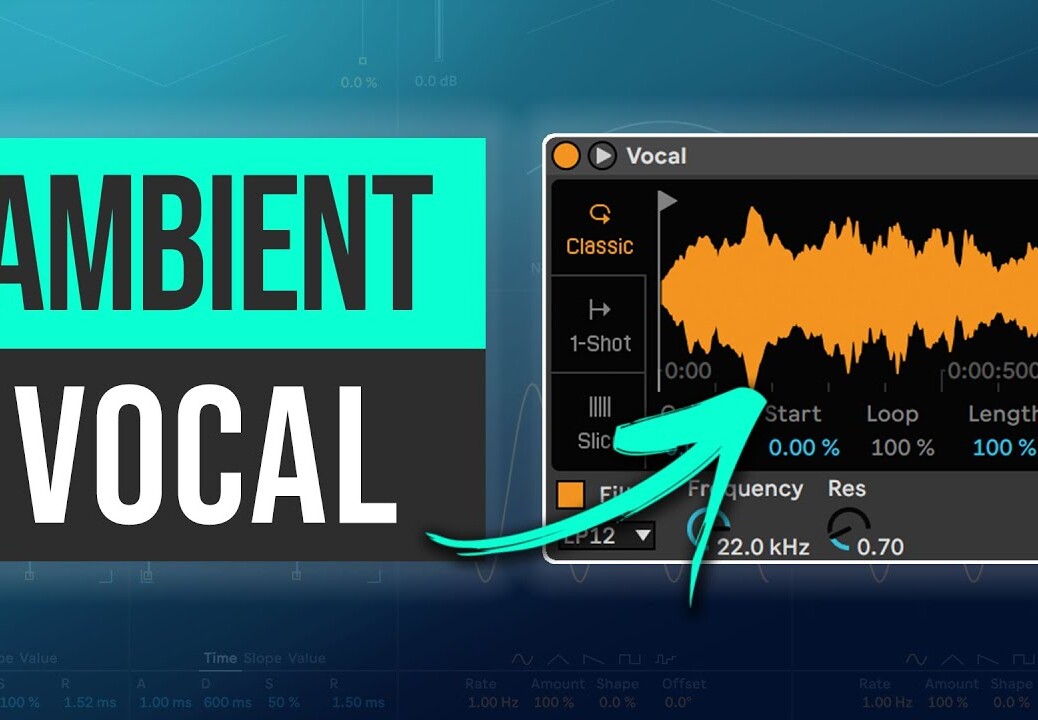
In this video our instructor Boris goes through our free project file “Clouds” to show you how to easily make a background ambient vocal layer to fill up space in your track. We’ll go through every parameter of the sound so that you’re fully equipped to make it yourself. Make sure to check out our music production courses, project files and sound packs. Let’s get started!
0:00 – 0:55 Introduction
0:55 – 4:20 Ambient Vocal Technique
4:20 – 4:53 Outro
? FREE Downloads For YOU ?
?? Ableton CHORD Generator: http://bit.ly/abt_freedlds
? GTA Ableton Project MIDI Pack: http://bit.ly/abt_freedlds
? Free MIDI Pack: http://bit.ly/abt_freedlds
?PREMIUM COURSES & DOWNLOADS ?
? Ableton START TO FINISH Courses + Beginner: http://bit.ly/abt_startToFinish
? Harmony Courses (Learn Chords, Melodies, Arrangement): http://bit.ly/abt_harmonybundle
? MIDI Packs (100s of Chord Progressions): http://bit.ly/abt_midi
? SAMPLE PACKS: http://bit.ly/abt_samples
1. Level the kick drum
“I always start with the kick drum. I play it in solo, I level it around -7 or -6 dB. This way you’re going to end up with the final track peaking at about -4 or -3 dB. For most mastering engineers it’s enough headroom.”
2. Solo your elements
“I usually start by soloing the kick, hats, snare and bass. I constantly take these elements in and out to see how they interact. Do they disturb each other? Maybe we need to make the low cut on an element a little bit higher? Drums, kick and bass – these elements take the most time. And if you work with vocals – I recommend starting with the kick, drums and vocals – because these are the main elements, and later you can level your synthesizers around that. So the beginning stage is mostly about setting the gain stages.”
3. Visually control gain stages
“What also helps is visually seeing the gain stages – the kick is always a little bit louder than the bass. And as for the snare – you need to really take your time to find the right balance between the kick and snare. That’s because in the mastering stage the limiter often gets a “panic attack” because of too much gain when both the kick and snare play together.”
4. Set the right low cuts
“Also at the beginning of the mixing process I try to find the right low cuts for the kick and bass. You don’t really need 25 Hz in a kickdrum. Maybe in your studio – but not in a club. Punchy kicks in this type of music work better. Usually you can do it at 42 Hz, if it’s a small, punchy kick. If it’s a subby techno kick – maybe around 30 Hz. But you can easily make it around 40. If you A/B with and without the low cut, you’ll always think that it works better without it – but I had better overall results with it.”
5. Mix effects before synths
“Then I usually add step by step my “atmospheric drones” – and before mixing the rest, I start by adjusting the effects group with all the white noise effects. If I were to mix the synths before the effects, I’m in danger of making the FX excessively loud.”
6. Follow the arrangement
“Then what I usually do is playing the track from the beginning. I add in the elements step by step, and if something needs adjustment, I stop, adjust, and play the track again. It’s really important to follow the arrangement. For me it would be very hard to start by mixing the peak moment of the track, but if I play the track from the beginning, I can mix the elements step by step.”
7. Mix as you go
“During the production I’m mixing already, that’s for sure. A couple years ago I was trying to work as fast as possible – I didn’t add drum rooms or compressors and mixed later – and it often turned out not to sound as good in the end. For me it makes sense not to overmix it when producing but still, making it sound good already before mixing.”
8. Create space
“It’s all about creating space in the frequency spectrum – analyzers can be really useful to see what’s going on at the moment. For example if there’s a lot going on at 2000 Hz, if there’s a very dominant clap – maybe you don’t need a percussion in the same range.”
9. Do you miss it?
“Another technique would be to disable an element if the fragment feels too busy. For example in this track (Transformation) in the drop section the shaker felt like too much. I took it off and I didn’t really miss it. So it’s important to ask yourself the question “Do you miss this element?” – and if you don’t – remove it.”
10. Take a break
“I always try to finish my track before the deadline – like a week before. I need some space, some distance from the track. I later come back to it and often find some issues I did not notice before – which wouldn’t be possible otherwise.”


